Scanning 101
As discussed in a previous post, there are many benefits to scanning your photo collection. If you’re considering taking on this project, or seeking help getting it done, you’ve probably got some questions about the process. Today’s post is about clearing up those questions so that you can approach your scanning project with confidence and get it done.
What can be scanned?
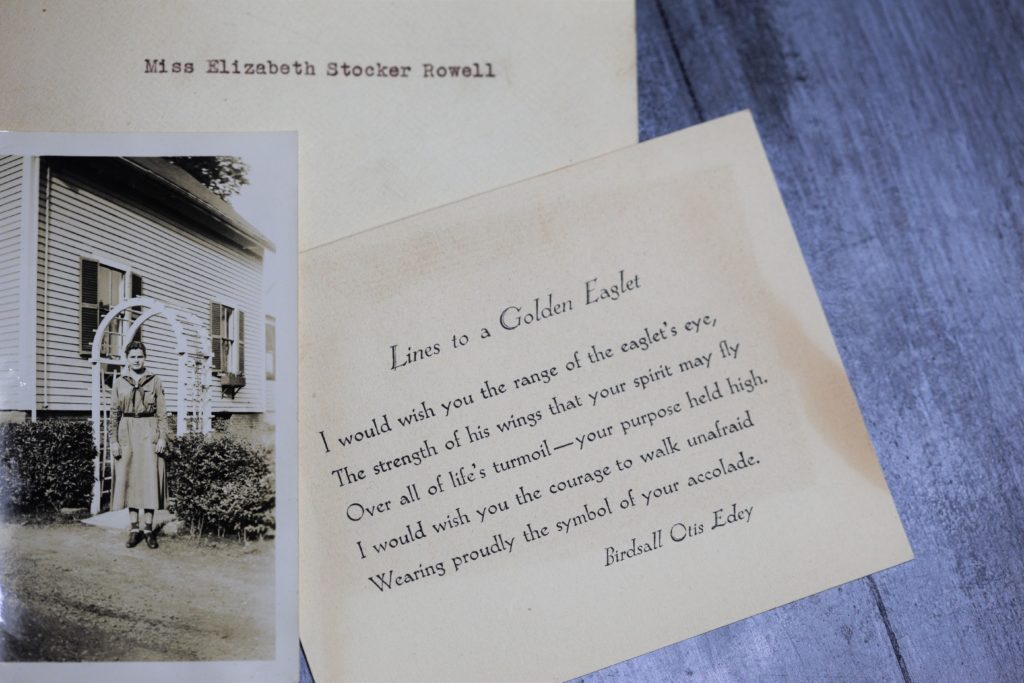
Virtually anything, but for our purposes here we’re going to discuss 2-dimensional (flat) objects. This includes photographs, slides, and negatives, as well as documents that you’d like to store in digital format to free up space in your file drawers, and memorabilia that you want to remember but prefer not to store. Scanning is a great way to preserve children’s artwork.

But don’t just think about paper that fits on your printer glass. With digital “stitching” software, it’s possible to use a handheld scanner to capture images of objects that are bigger than your printer, such as scrapbook or photo album pages. Even paintings, posters, and quilts can be scanned!
What equipment is needed?
There are many different kinds of scanners: flatbeds, handheld devices, apparatuses that use a phone or other camera to capture an image, and specialty scanners that handle only one type of medium (i.e. a dedicated slide scanner). Many home printers feature a scanning function, and if your main goal is to scan documents that may be all you need. Slides and negatives are transparent, so they can only be scanned with scanners specifically made for this type of task. In most cases, you will also need a computer with a monitor to capture and view your images, and some kind of software that allows your computer to communicate with your scanner. For photos, you’ll likely also want software for editing and organizing your images.
How much does scanning equipment cost?
A simple flatbed scanner can cost as little as a couple hundred dollars, while higher end models can cost several thousand. So it depends what it is you want to do. If you’re considering purchasing equipment for your scanning project, it’s worth doing your research to learn what’s available in your price range and whether that is suitable for the task you have in mind.
What is the optimal resolution for scanning?
Again, it depends. Resolution is essentially how many dots per inch (DPI) are recorded by the scanner. Higher DPI means that more detailed information is captured and saved. In general, higher DPI means a higher quality scanned image — to a point.
If an image was taken at low resolution (i.e. it’s grainy, or the lighting prevented the capture of much detail), a high resolution scan will not help. A scanner can only capture visual information that is there in the original. Keep in mind that higher resolution scans take longer and create larger digital files than lower resolution scans — so resisting the temptation to maximize all your settings can save you time, money, and investment in storage devices like external hard drives.
In general, we recommend scanning photos at 300-600 DPI, and slides at 2000-3000 DPI. If you plan to create large prints of a scanned image, you may need to scan at a higher resolution so that the final print will not appear grainy.
I’d rather not do my own scanning; what are my options?
You’re not alone. Scanning is time-consuming and sometimes tedious work. Many people are downsizing so the last thing they want is to buy more equipment, especially if they’ll only need it for one project. Others prefer not to take the time to research the different approaches, learn the process, master the software, and then actually do the scanning work.

If you prefer to have someone else scan your collection, you have various options. If you’re comfortable mailing out your photos and documents, you can find services online offering low-cost scanning — but be aware, your items may be going to large facilities where they will be processed as quickly as possible and may or may not receive careful attention. Be sure to read the fine print carefully to understand their policies, including what happens if items are lost in the mail.
Ink & Images offers premium “white glove” service. We’ll pick up your items and deliver the finished products in person, and throughout the whole process we will (literally!) handle your photos with white gloves, taking the utmost care to preserve your collection and deliver high-quality products.
How can I get the most out of my scanning dollars?
Some clients prefer to hand us their entire collection of slides and prints for scanning, and then sit down with us periodically to work together to get them organized.
But if you want to minimize your costs, consider taking these steps:
- Preview your slides and prints, and only scan the ones you want to keep.
- Make sure your slides and prints are right-side up and frontwards.
- Use your own software to edit, sort, and name your images after they are scanned.
- Choose a package deal that combines scanning with other services you’re interested in.
Whether you decide to tackle your scanning tasks yourself or seek professional assistance, the important thing is to get it done! Having your cherished photos accessible so that you can enjoy and share them is a gift to yourself and your family. Start today!

Comments
Scanning 101 — No Comments